Sign Up & Start A Project
To get started with Debugg AI you need to create a free account at app.debugg.ai/signup.
Once you've created a basic account and setup your company name for us to associate logging with, we create a project.
Create a Project
Projects are logical groupings of code repositories and are how we keep track of differing codebases within your org or app.
To start, go to the projects tab and select 'Create a Project' and complete the form fields.
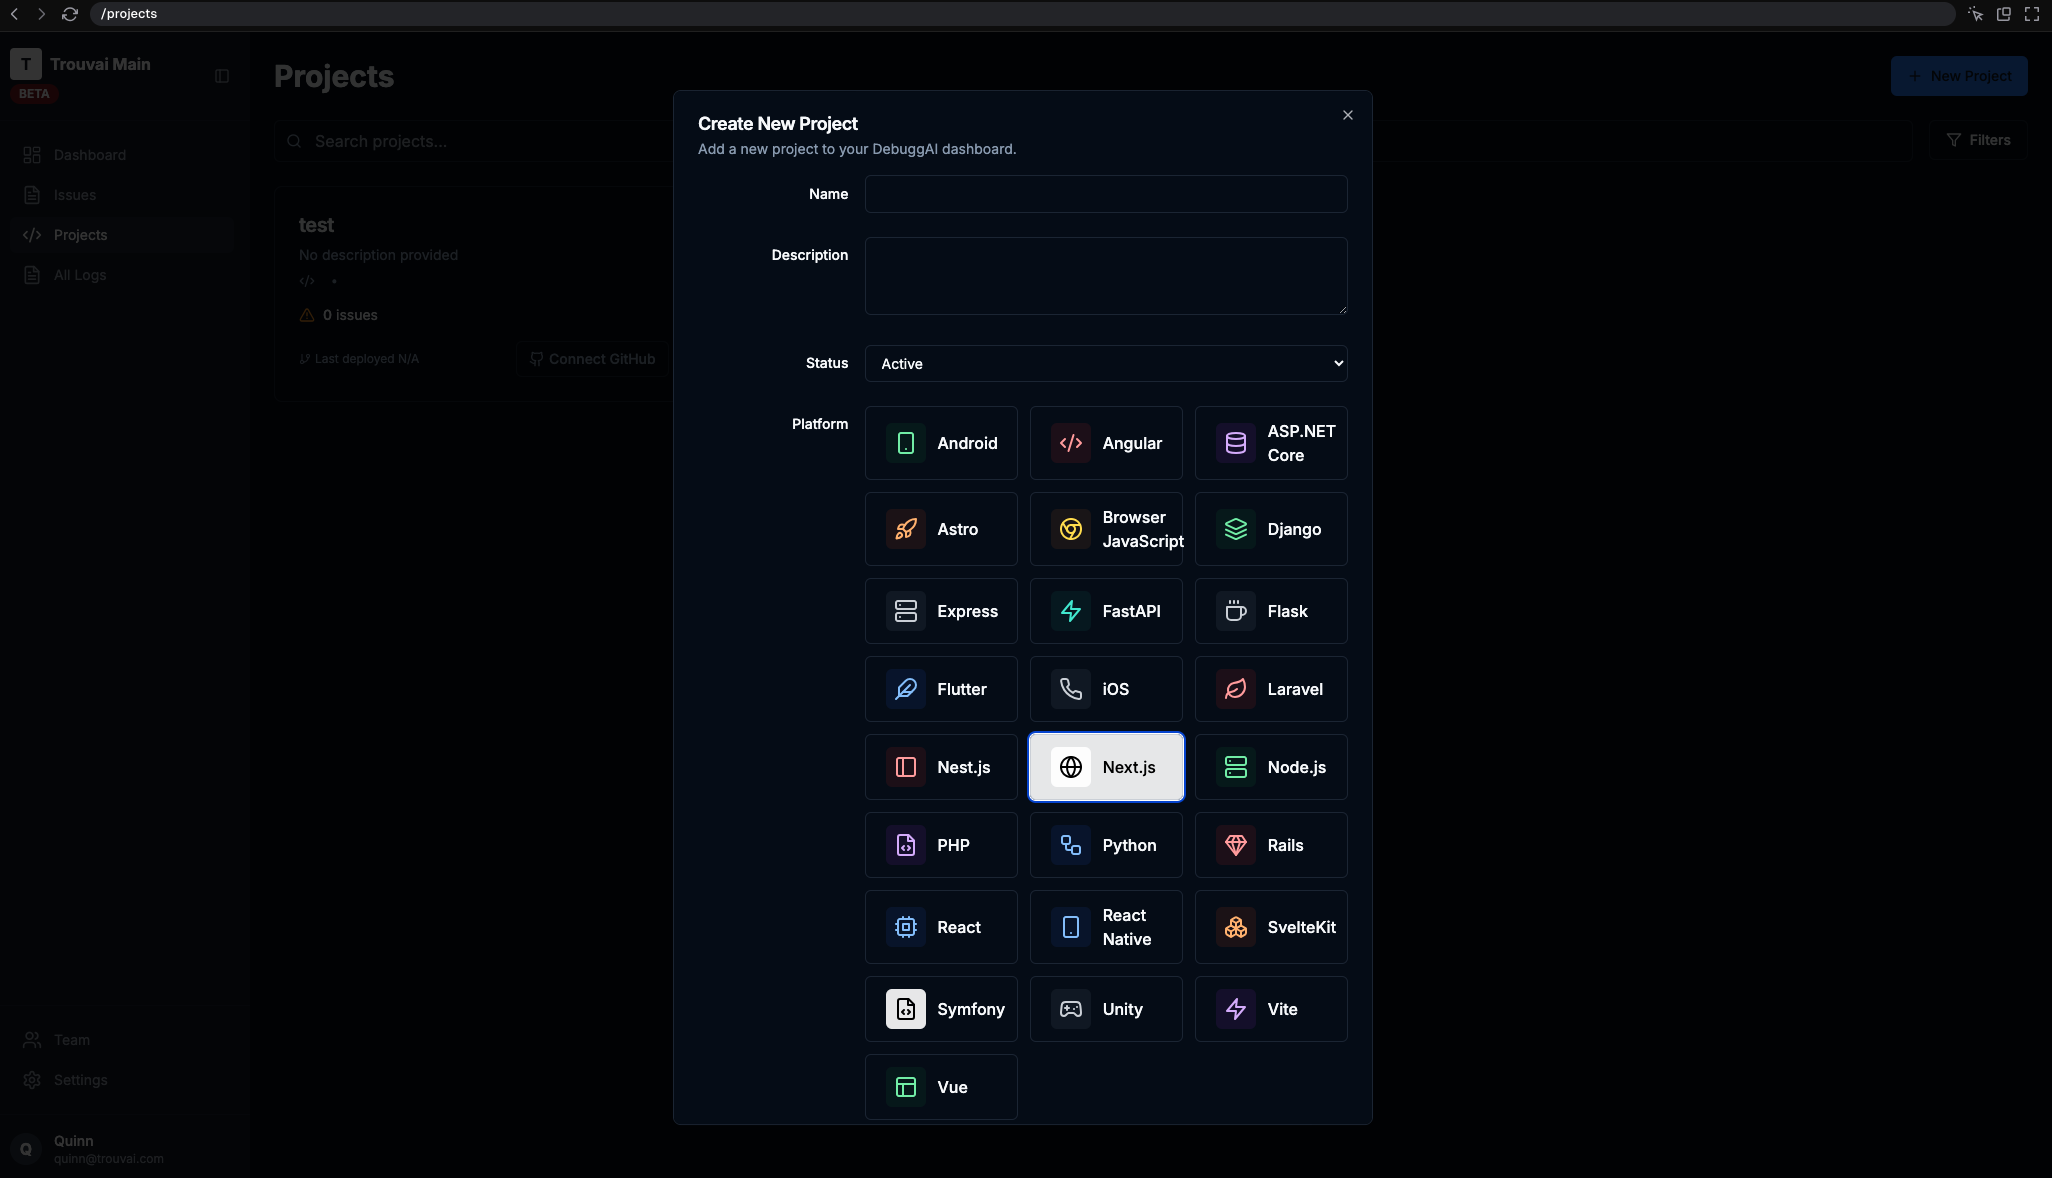
You should then see some basic information about the project and an option to connect your Github repository.
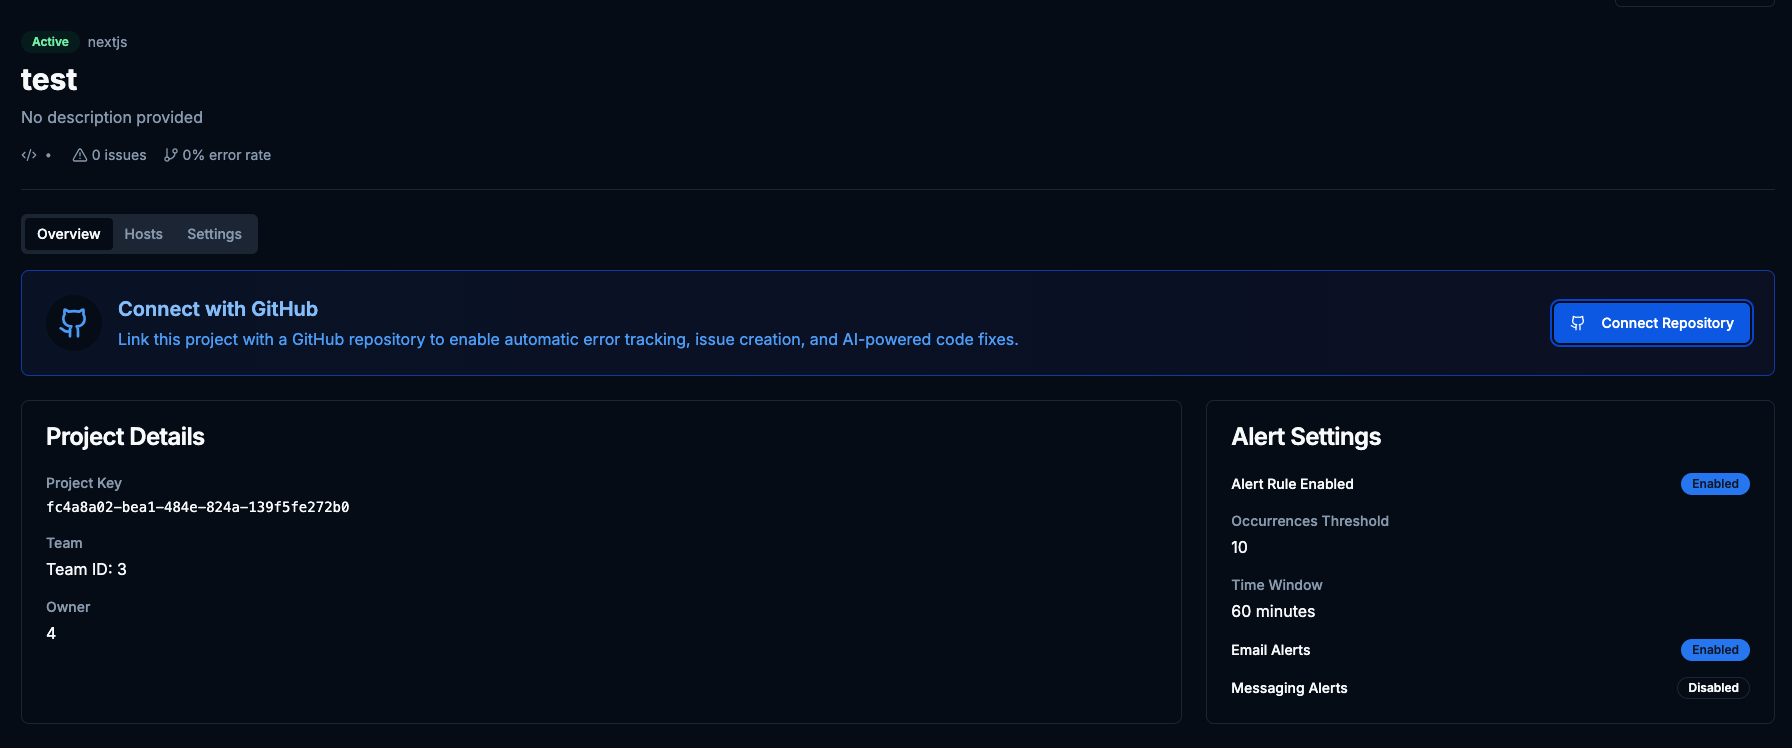
You don't have to allow permissions to your repo to use the extension functionality, but you do have to provide the repository url / name so that we can associate your project with a given local folder system on your machine.
Eg. If you have a project called 'Awesome Fun Coding Project' with a repository called 'awsme-fun-code-project' we need to know the exact repo name to pull the AI fixes & test generations into your IDE as appropriate when you open that repo folder.
Creating a Host
This step is not required per-se as we will automatically create a 'host' for every new machine we detect running the codebase with our SDK installed for your project. However, it may be easier to track if you specify early on what your naming convention will be.
Naming is more important here than traditional Application Monitoring tools because we aren't just logging in Staging and Prod. So all engineers working on the same codebase - and therefore project - will each have their own localhost.
As such naming conventions like <initials>-localhost or <github_name>-localhost are simple ways of keeping hosts differentiated.